Decontaminating paint
DECONTAMINATING PAINT
by Tim Dec 05, 2020
Over time, it is not unusual for automotive paint finishes to become slightly rough to the touch due to the gradual accumulation of various surface contaminants that are too firmly bonded to be removed by normal washing alone. In this guide, find out how to check if your paint has acquired bonded surface contaminants, how to remove stubborn tar spots and baked on bug splatter, what a clay bar is for, and how to use a clay bar and clay lubricant to remove bonded inorganic contaminants safely and effectively ...
Over time, it is not unusual for automotive paint finishes to become slightly rough to the touch. Such roughness is caused by the gradual accumulation of surface contaminants that are too firmly bonded to be removed by normal washing alone. To determine whether your paint has acquired firmly bonded surface contaminants you should wash and rinse your car thoroughly and then run your fingertips over the wet panels. Clean paint should feel perfectly smooth (if your fingertips aren't particularly sensitive you can magnify your sense of touch by putting your hand inside a thin cellophane wrapper first). If you can feel rough spots or a gritty texture then unfortunately your paint is affected. Also, in some cases you may even be able to see such contamination upon close inspection, particularly in the case of tar spots. Surface contamination is deposited on cars from a wide variety of sources, but can be neatly divided into two categories based the typical size of the particles and what they are made of.
Surface contamination that is visible to the naked eye typically comprises organic compounds such as tar, honeydew and bug splatter. Tar spots are the most common and irritating organic contaminant, and are acquired all year round from freshly laid bituminous surface treatments on our roads. Honeydew (often mistaken for tree sap) can be a nuisance in the summer months, when it literally rains down from tree canopies as a result of high levels of insect activity. Composed of sugars and other waste products that pass undigested through the bodies of aphids, honeydew becomes harder to remove the longer it is left on paint. Bug splatter is also a common nuisance in the summer months and seemingly welds itself in place on the front end of most vehicles, no matter how slick and well protected the paint is. As such contaminants gradually accumulate on bodywork, not only do the aesthetic qualities of the finish rapidly deteriorate, but so too does the ability of the paint to sheet water properly. Moreover, bug splatter can also cause etching and discolouration of underlying painted surfaces, due to the corrosive effects of the organic acids found in bug remains.

Tar spots are usually easily visible, particularly on lighter coloured cars

An extreme case of honeydew fallout from the tree canopy above

Bug splatter typically welds itself in place and is difficult to remove
Surface contamination that is invisible to the naked eye typically comprises inorganic particulates derived from industrial and commercial activities; industrial fallout, brake dust, railway dust, paint overspray and exhaust soot can all bond to paint both physically (by charge attraction) and chemically (by electrolysis). As such contaminants gradually accumulate on bodywork, surface roughness gradually increases to the point where it can be detected, whilst the reflectivity of the finish and the ability of the paint to sheet water properly gradually diminishes. Furthermore, as such particulates slowly oxidise and corrode, etching and discolouration of underlying painted surfaces can occur. It is worth noting at this point that because inorganic contaminants are mostly delivered through the air and settle out on your car whenever it is parked, it does not matter where you live or where you leave the car; it is susceptible to contamination everywhere and anywhere, and all times of the year too.

Highly magnified image of paint overspray surface contamination

Highly magnified image of industrial fallout surface contamination

Bonded metal filings rusting in situ; visible to the naked eye in this instance
The safe removal of bonded surface contamination requires special techniques. We have already established that normal washing doesn't remove them. Stronger all purpose exterior cleaners may partially remove some of them when used at maximum strength, but even then would struggle to fully dissolve larger organic particles and would certainly not remove many inorganic particles, as they are largely insoluble. Aggressive polishing would almost certainly remove such contamination, but is a far from ideal solution because bonded contaminants often need to be removed two to three times a year and aggressive polishing should not be done anywhere near as often as this. What is really required then is a method that employs products capable of removing such contaminants without affecting underlying painted surfaces. Fortunately such products exist, and comprise tar removers and detailing clay.
The clay used in detailing clay isn't really clay at all, but a mixture of a soft plastic resin (polybutene) and various grades of abrasive particles. Think of it in this way; the soft plastic resin is effectively an applicator pad, which enables you to move abrasive particles over your paint using consistent force and pressure. Because bonded surface contaminants sit above the surface of the paint, they are subject to greater abrasive forces than the surrounding surfaces when a clay bar is rubbed over them. As a result, they are abraded away and removed by the clay bar. You may be questioning at this point why the abrasives in the clay don't affect the surrounding paint? The answer is they would, if they were allowed to. You have to stop them from doing so, by using a suitable lubricant.
Clay lubricants come in a variety of guises, but most are effectively quick detailing products. These spray on, wipe off products contain lubricating oils (which enable dust and grime to be wiped off exterior surfaces safely without inflicting damage to the underlying surfaces) and are well suited to use with detailing clay. In addition, heavier duty waterless wash products are also ideal in this respect, as they contain an even greater concentration of lubricating oils. If you do not have any of these products, a very rich suds mixture made up using a normal shampoo can sometimes suffice, but do note that sometimes such solutions can partially dissolve detailing clay and make it messy to work with.
At this stage you may be asking why not simply use detailing clay to remove all bonded surface contaminants; why were tar removers mentioned above? The answer is that detailing clay can be used to remove all of the contaminant types mentioned above, but a potential problem arises in that bonded organic contaminants generally comprise much larger particulates than bonded inorganic contaminants, and therefore have greater potential to cause surface marring at the interface between the clay bar and the paint as the clay bar is moved around. Given that bonded organic contaminants are usually highly soluble in paint solvents, it makes far more sense to remove them chemically rather than physically, as dissolving them and then rinsing them away virtually eliminates the risk of causing marring.
At this stage you may be asking why not simply use detailing clay to remove all bonded surface contaminants; why were tar removers mentioned above? The answer is that detailing clay can be used to remove all of the contaminant types mentioned above, but a potential problem arises in that bonded organic contaminants generally comprise much larger particulates than bonded inorganic contaminants, and therefore have greater potential to cause surface marring at the interface between the clay bar and the paint as the clay bar is moved around. Given that bonded organic contaminants are usually highly soluble in paint solvents, it makes far more sense to remove them chemically rather than physically, as dissolving them and then rinsing them away virtually eliminates the risk of causing marring.
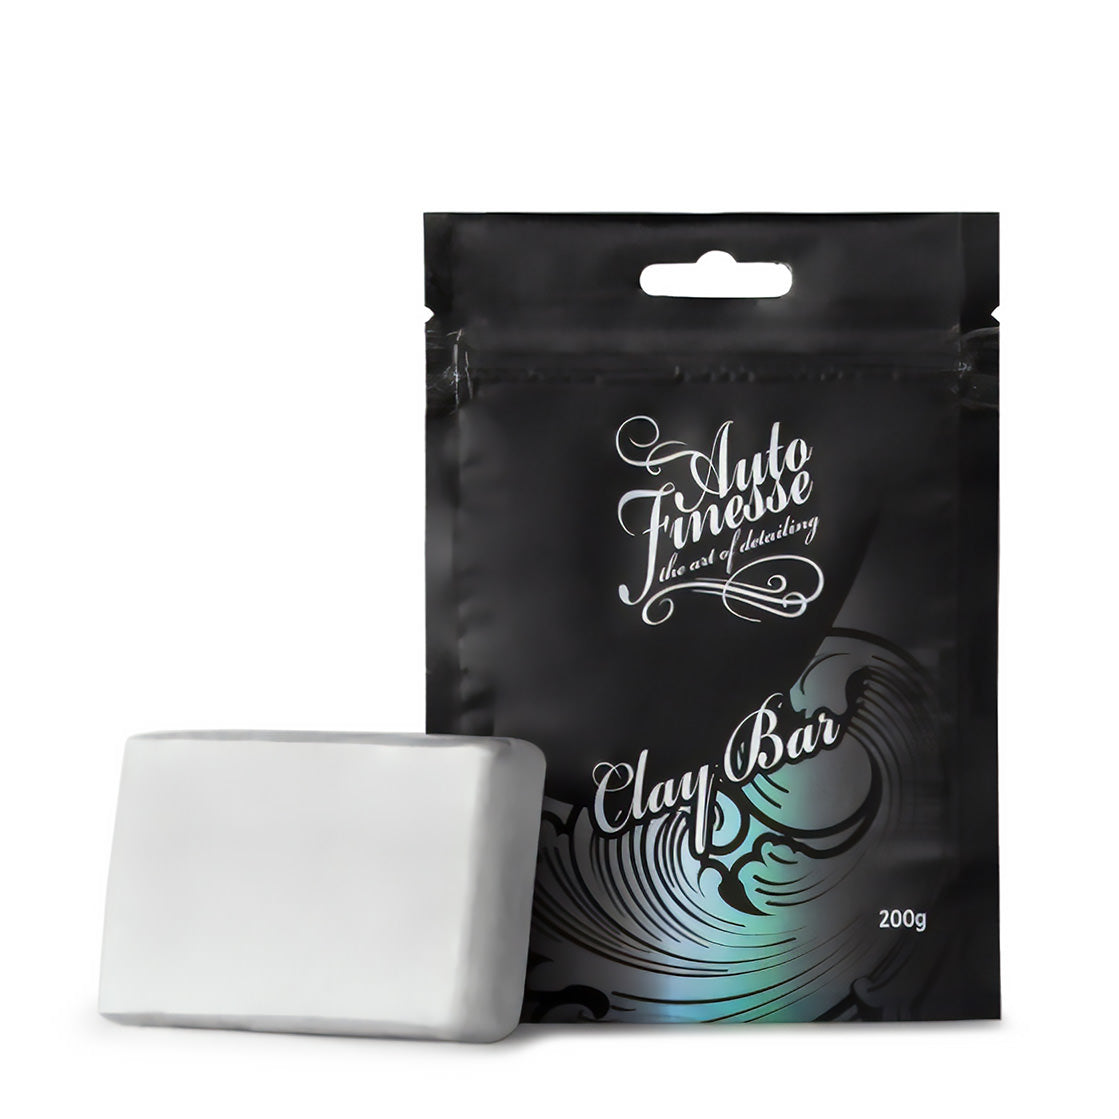
Auto Finesse Clay
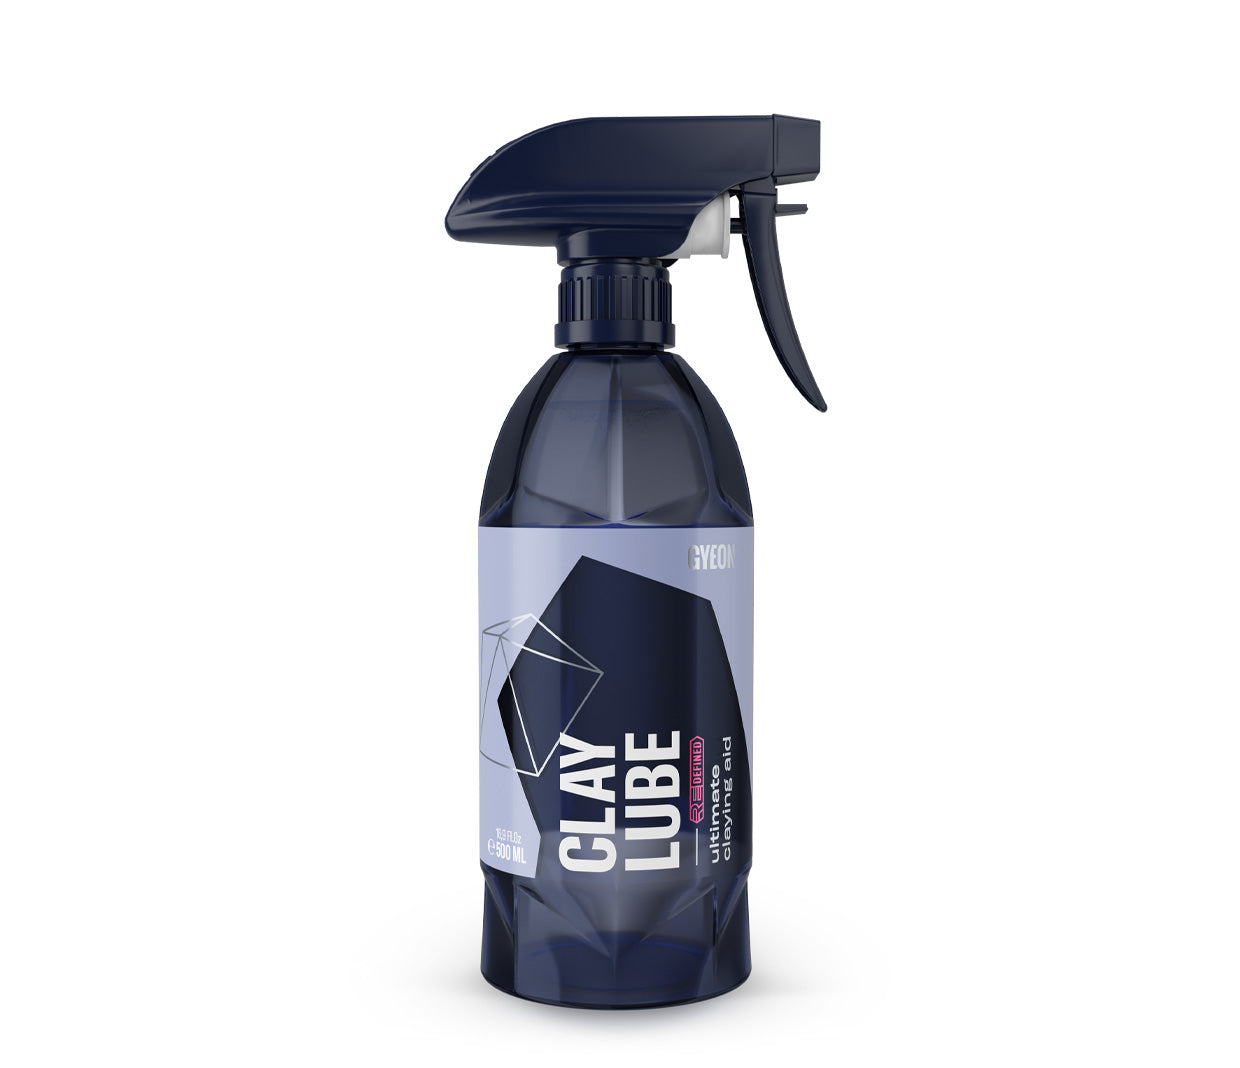
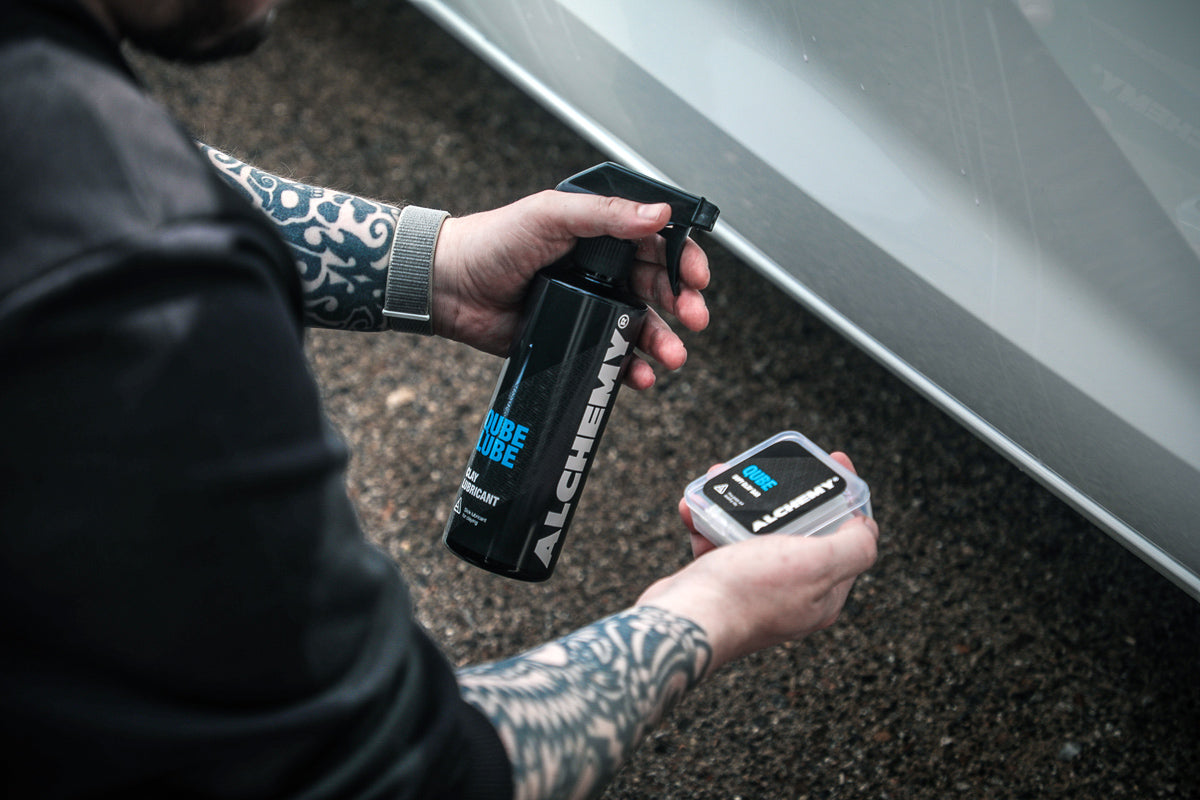
Gyeon Q²M ClayLube Redefined
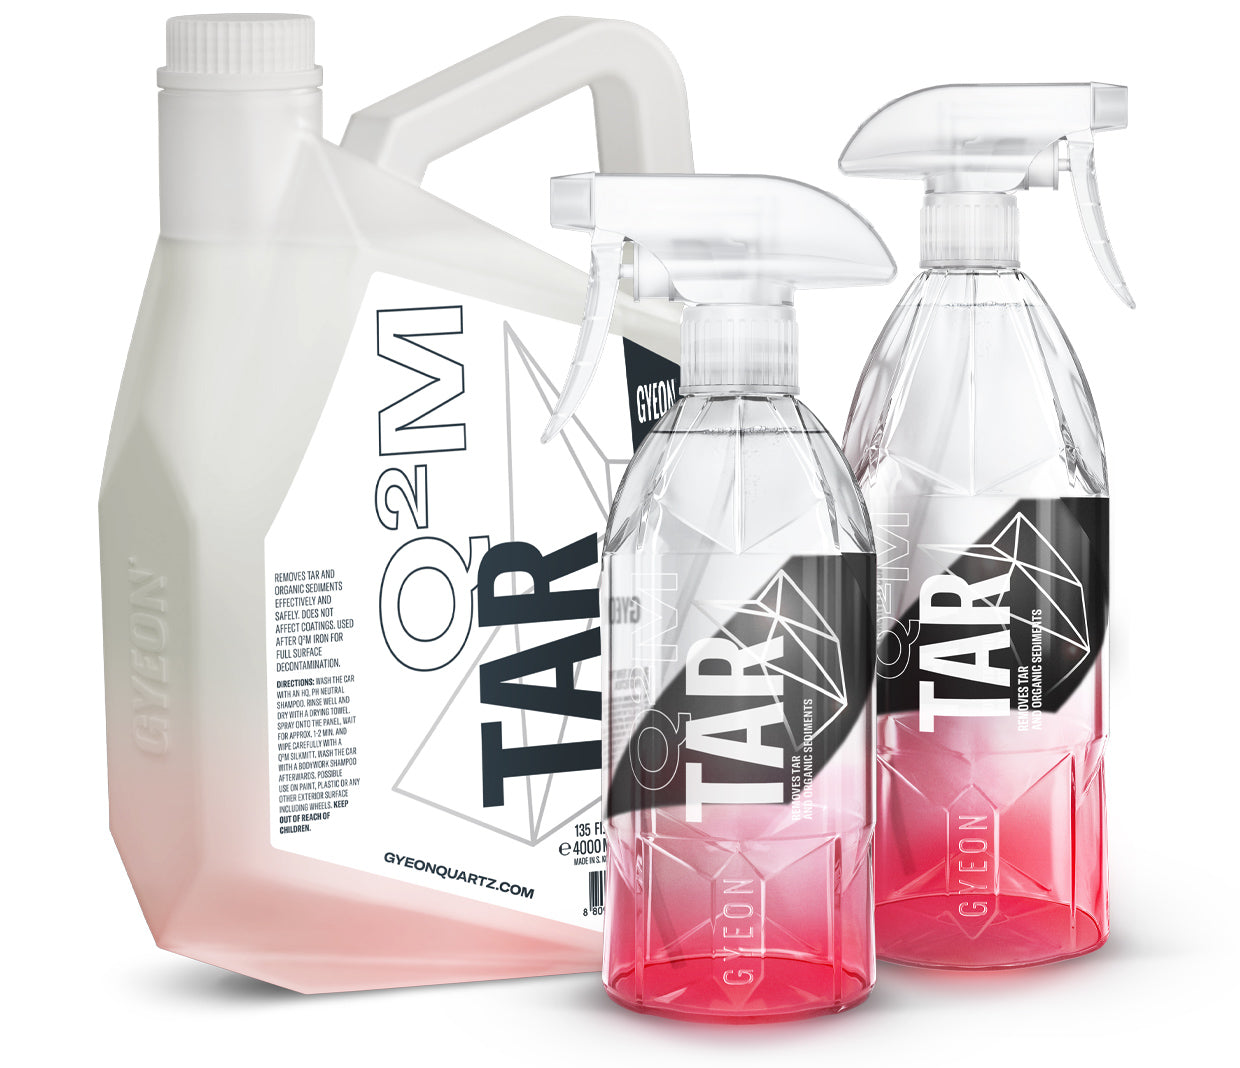
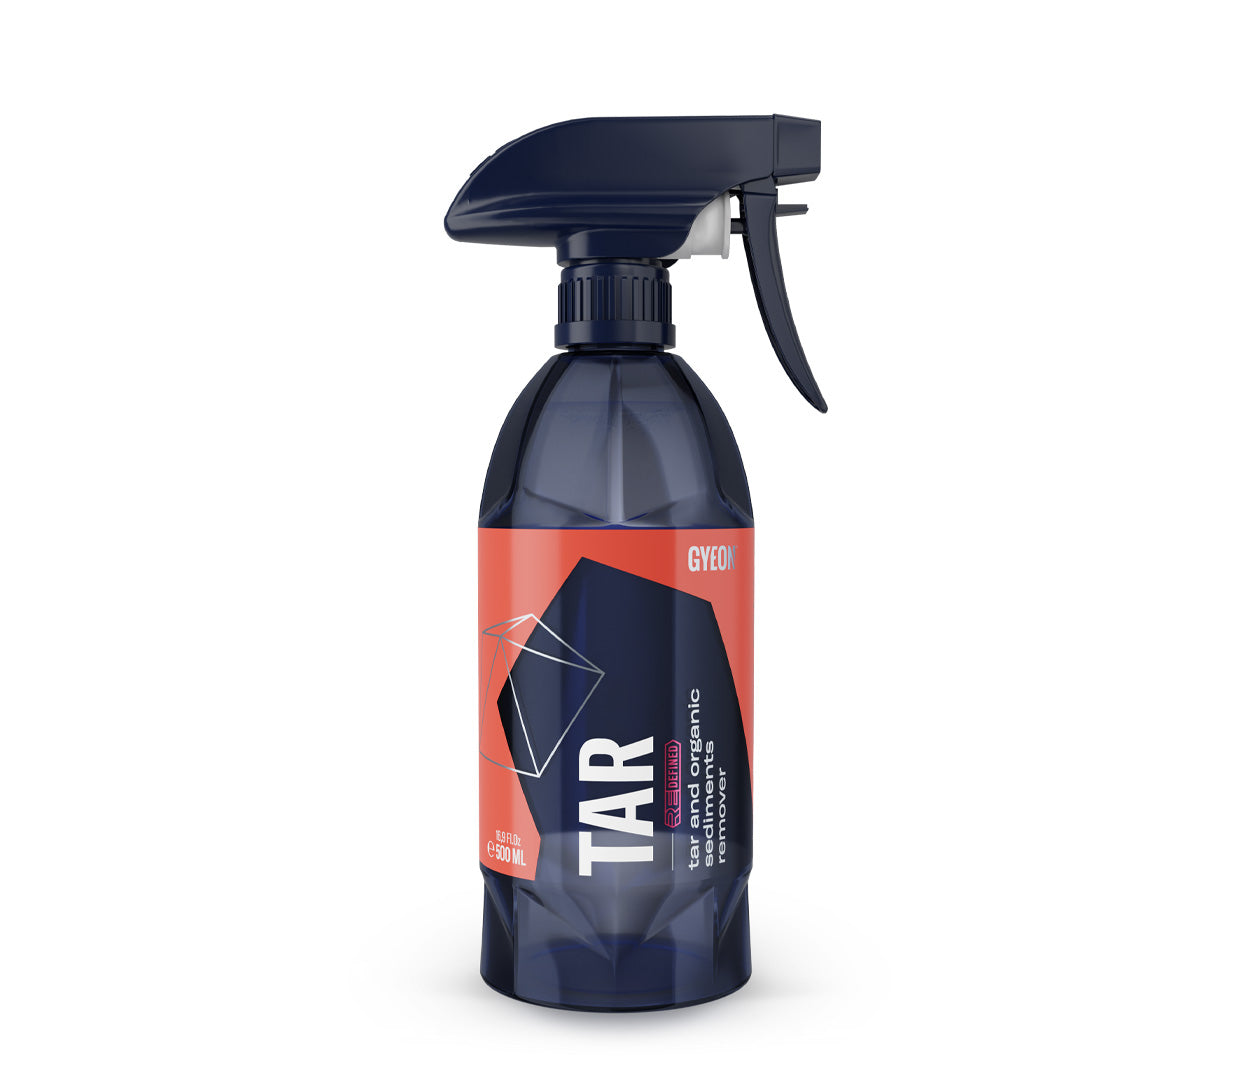
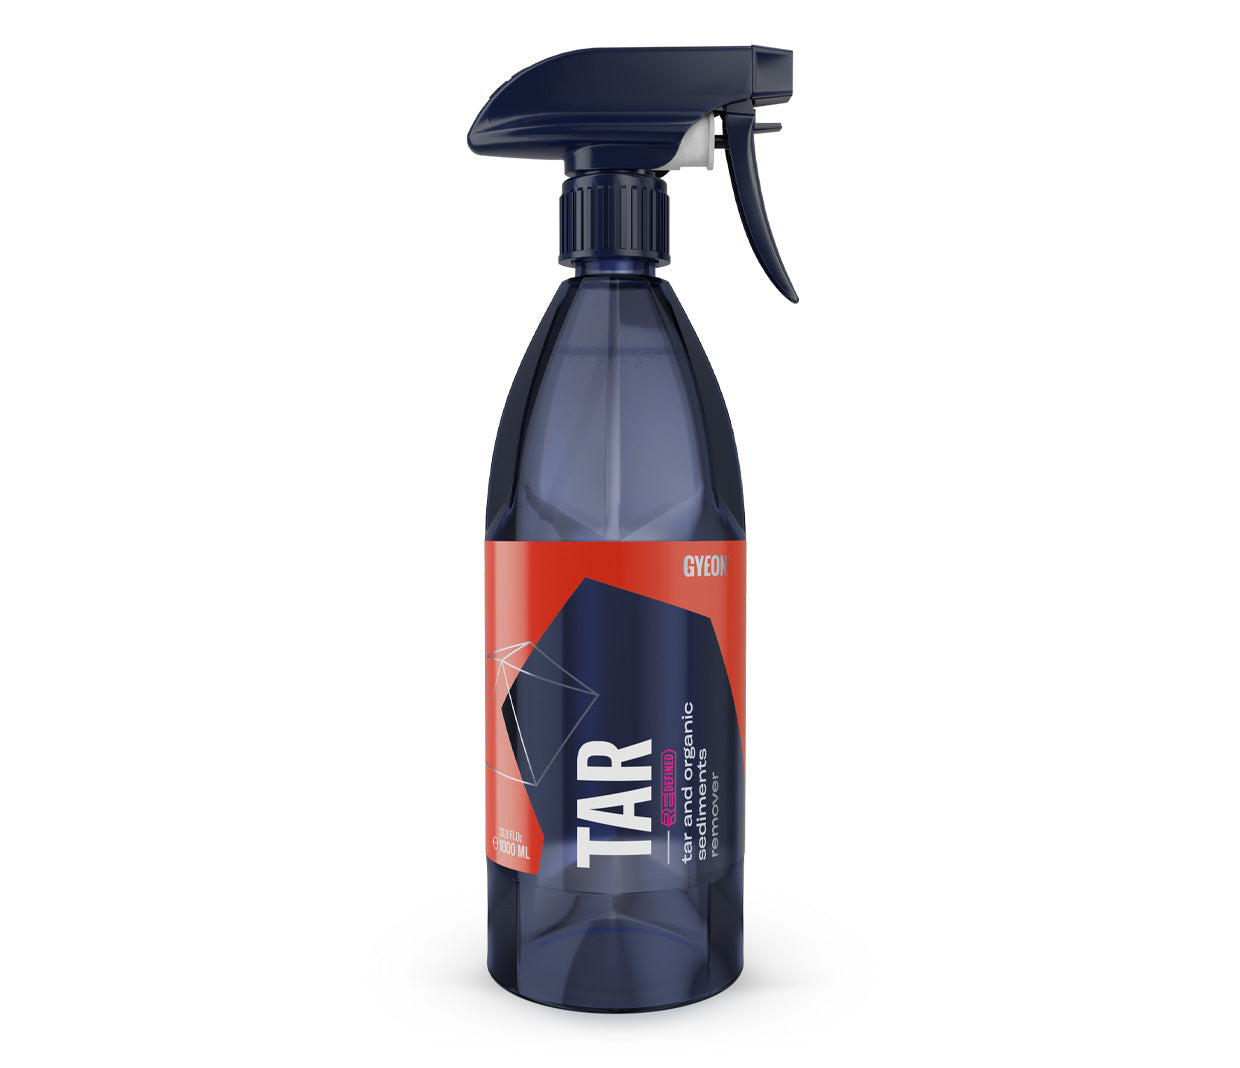
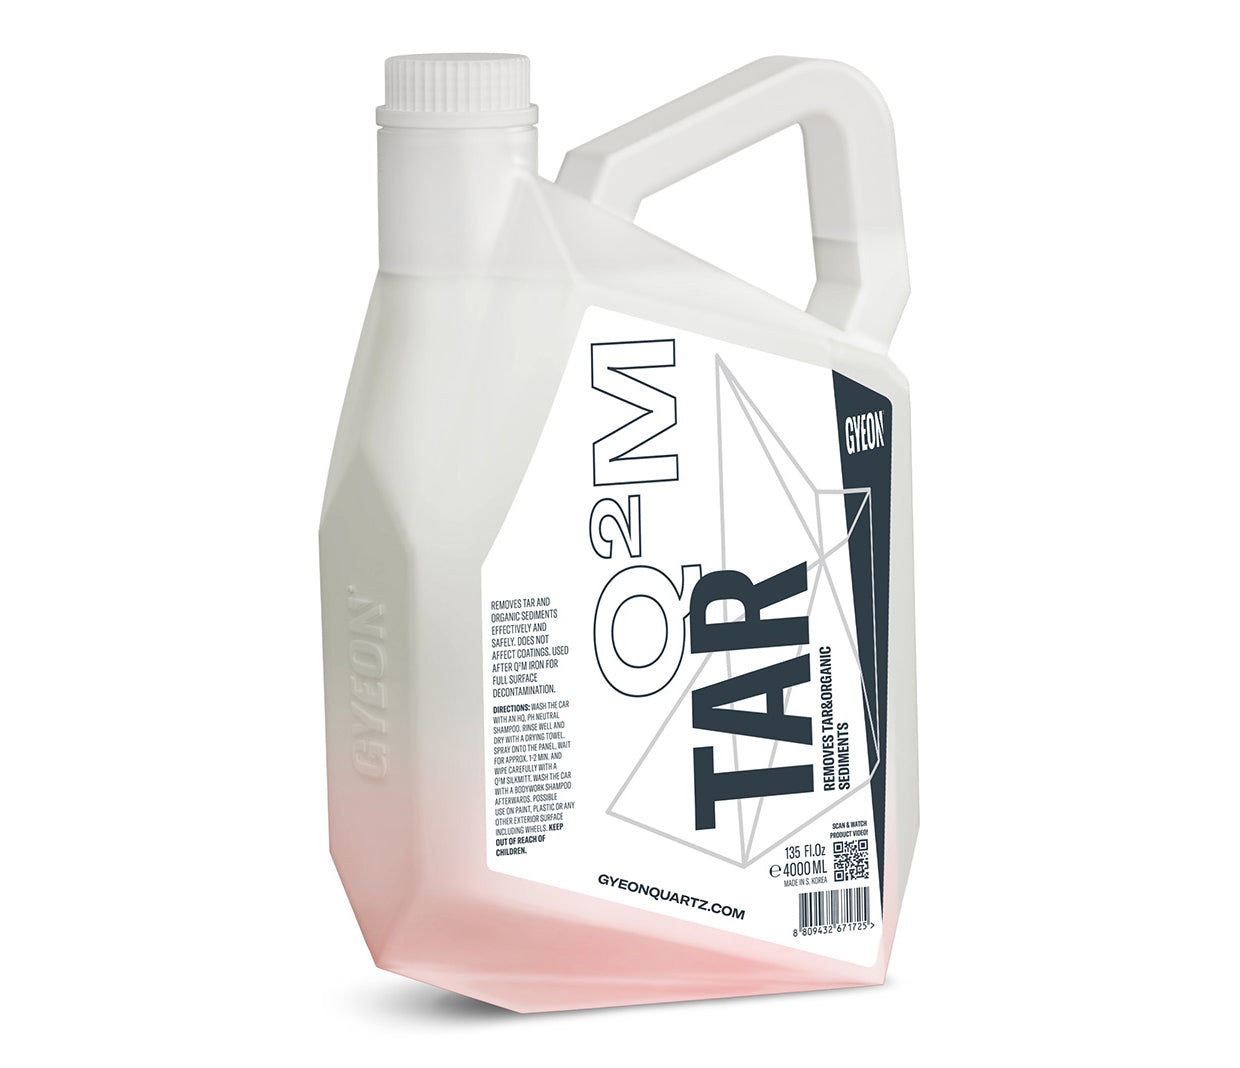
Gyeon Q²M Tar
When it actually comes to claying your paint the first thing you should do is tear up your clay bar into half a dozen pieces and then check that they are soft enough to work with. This is a bit of a judgement call, but ideally you should be able to mould the pieces into balls and be able to roll them up into sausage shapes with relatively little effort; the consistency of blue-tack is what you are aiming for. If your pieces of clay feel harder than this you should place them in a tub of warm water for 5 minutes and then try it again (obviously it is okay to get clay wet). In the summer months, clay bars are usually okay to use straight out of the wrapper, but in the winter months they nearly always need to go into warm water for 5 minutes before first use. Using clay pieces that are too hard is the number one reason why many people have a bad experience with clay and end up damaging their paint.
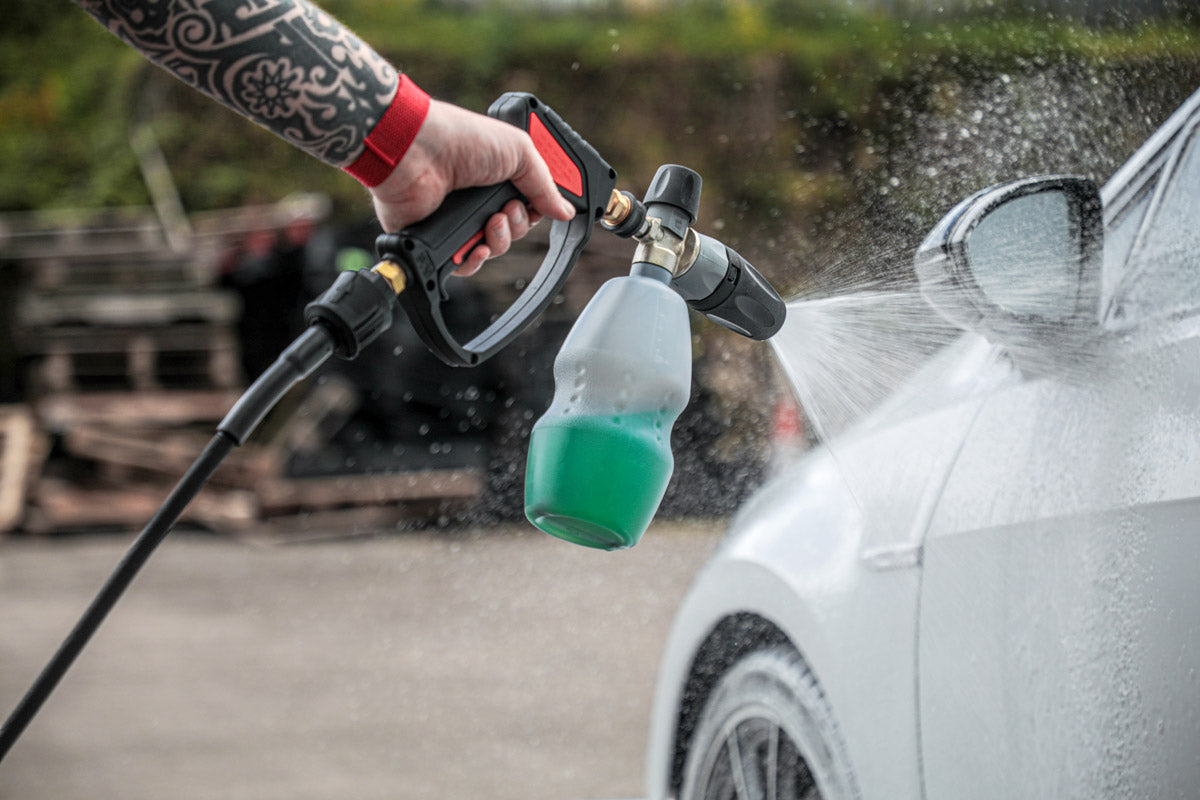
Once soft enough to work with, take one piece of your clay and flatten it into an easy to hold patty shape. The next step is to work from the top of your car down, panel by panel. Working on an area of no more than 2 ft x 2 ft at a time, spray the work area thoroughly with the lubricant and then using light pressure and pace rub the clay backwards and forwards across the surface of the panel, following the lines of the car. Using insufficient lubricant is the second reason why many people have a bad experience with clay and end up damaging their paint; be generous with it, it doesn't matter if it runs everywhere, it won't do anything any harm.
If the paint is relatively clean the clay will glide across it very easily; if it is heavily contaminated the clay will be much harder to move around. Usually, between two to three dozen passes will be enough to clean the work area, but in time you will become able to judge whether all of the contaminants have been removed by the way the clay moves over the surface. Another way to tell is to run your fingertips over the panel when you think you are done; it should be perfectly smooth. If it isn't, repeat the process. Once the work area is clean, wipe up any residual lubricant using a microfibre drying towel and then move on to the next area or panel. If conditions are cold, switch clay pieces after each panel and keep your spare pieces sat in a tub of warm water.

Always be very generous with the lubricant when using a clay bar

Allow the clay to glide freely using only fingertip pressure to hold it in place

As your progress around the car the clay pieces will gradually discolour
As you progress, remould and reshape your clay after every panel. This ensures that the face of the clay in contact with the paint remains relatively clean. If after doing the first area you realise you are working on a heavily contaminated surface, remould the clay more frequently. As your confidence grows, you will find that it is often easier to work on really stubborn areas using a thinner piece of clay and more pressure, but don't rush this; get some experience first, as marring can be caused if too much pressure is used. The final golden rule for using clay safely and effectively is always to throw it away if you accidentally drop it on the floor. Continuing to use it after doing so is clearly going to be a recipe for disaster and major damage.
The final step in the cleaning process is to pack away all of the tools you have used, making sure everything is clean and ready for next use. Check the condition of your clay pieces; if they are totally soiled discard them, but if they are only partially soiled then place them in a zip lock freezer bag and save them for future use on your wheels or your windows (we recommend that you always use a brand new clay bar every time you clay your paint). Finally, wash any towels you have used in a washing machine at a low temperature using a non-biological liquid detergent (avoid soap powders and detergents containing bleach or fabric softeners) before allowing them to dry out naturally.
Related Posts
Decontaminating paint